Not seeing a Scroll to Top Button? Go to our FAQ page for more info. Northbrook Designs: Beading
Showing posts with label Beading. Show all posts

Sunday, March 30, 2025

"Don't Lose Your Head".....

How many of you have parts of projects stuffed away in your stash, with a sincere promise to said parts, that you will be back. You can admit it, I won't tell anyone. Being a creative person can be a double edged sword because if you're like me, I get excited about everything. I can look at anything and put a project together in my mind with that "thing" I just looked at, and  can visualize every step of the project to completion. Then I forget what I was doing and go to that new inspiration.

I don't think I'm alone in saying that drifting from one inspiration to the next, and eventually returning to that one you were working on, is a never ending cycle... ;o(  I am working hard to stay focused on one thing, no matter how hard the muse on my shoulder is saying, "take a break and do something else". The project today is one of those stuffed away collection of parts.

I haven't done much in the way of dolls for a while, but when I looked at these little heads in the cupboard, I felt I had to do something with them. They were destined for bodies and never got there. Only one was full bodied at one time, and I ended up taking it apart and keeping the head, because she's so pretty. That would be Morgan. I'm calling these "Dangles."  Let's begin.

In the beginning, there were heads without bodies, just stored in a box. This is how I started. They are lined up, waiting with high expectations.


Here they are with their assigned names. ;o)


Here they are with their finished dressed up and embellished looks. I'll put them in the same order as above so you can compare.


And here are the full view of the ladies and one little bee. I made them to be hung on the wall, or from a floor lamp or a cupboard, or wherever they can be seen and enjoyed. I will have more to show you very soon.....  Enjoy...

Project checked off.


Wednesday, January 22, 2025

Beaded Stars and Snowflakes

It seems that I do things in cycles. The beginning is showing me that I like to do some beading in January/February. These are a few beaded stars. I did some of them last year at this time and the rest recently. I also have a few other beaded things that I'll post next time. 

These designs are from Argus Collection. Quinn has a new website and I'll send you over there. She is great to work with and quick to respond if you have any questions.

Besides all her inventory, patterns free and paid ones, as well as specific companies she sources from. I see a link that she will have a blog at some point. Sign up for her newsletter if inclined to do so, and one more thing. She has a rewards card to collect points for more savings. Take the time to look around, you will find some really inspiring beading projects and the supplies that go with the patterns. 

Click here for the Argus Collection

The size of these stars is approximately 2" square. I think they would really shine if they are made into a mobile, with pretty beaded branches to hang from. Of course that means I have to make more colour variations. Darn that might also mean I'd have to buy more supplies... Hmmm, what to do. The patterns are on Quinn's site. Enjoy.....


Thursday, January 18, 2024

Beaded Hummingbird Pin Cushion

My first project of the new year 2024, is this pretty hummingbird pin cushion. I’ve had the kit for a little while and decided while the snow is falling why not  work on project while staying nice and warm indoors.

This is a kit I purchased from a seller on Etsy that is from Ukraine. Those artists in Ukraine are truly amazing. You can find Wonderland Ukraine HERE.

Everything you need is included in the kit. They use wood cuts for beading on. I think it’s like an MDF board. It’s a medium density fibre (MDF) wood product. It’s made by breaking down hardwood or softwood residuals into wood fibre. Then combined with wax and a resin binder and formed into panels using high temperature and pressure. It does not off gas and is in incredibly hard.

Every colour of bead is individually packaged, as well you will receive all the necessary parts to complete the project. They even include the felt to attach to the back to cover the stitching. Very simple to assemble. Take a look at the Etsy site, they have a great variety of unique projects to choose from.  Here is my finished piece.

All you have to provide is some glue to stand the hummingbird up in the space provided. After you stitch the pin cushion together, you first glue a circle piece of wood inside the base, then glue the pincushion into the base. I used a glue stick and it seems to be holding well. Enjoy…


Wednesday, October 19, 2022

Beaded Bookmarks - 2022

I decided to try making a couple of bookmarks. These take more beads, but so rewarding. I haven’t used them yet,  I’m just focused on making bigger and bigger projects.

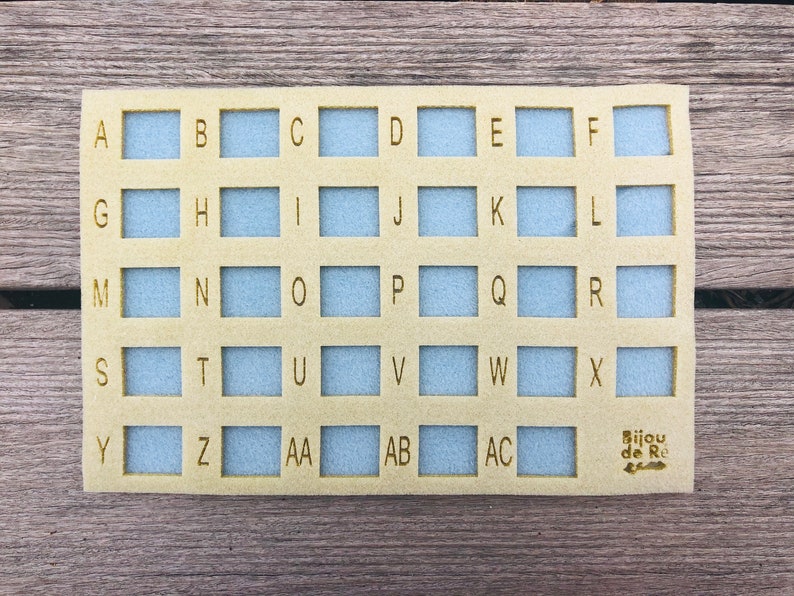
Once you get past bookmarks, you will have to consider getting bead boards that have lots of separate compartments that are labelled with the alphabet to correspond with your patterns. This a board I purchased and is going to be some helpful, when I tackle the projects that use 25 colours plus.  CLICK the image to see the product on Etsy.Pearl tray organizer in bead mat / bead mat box organizer image 2

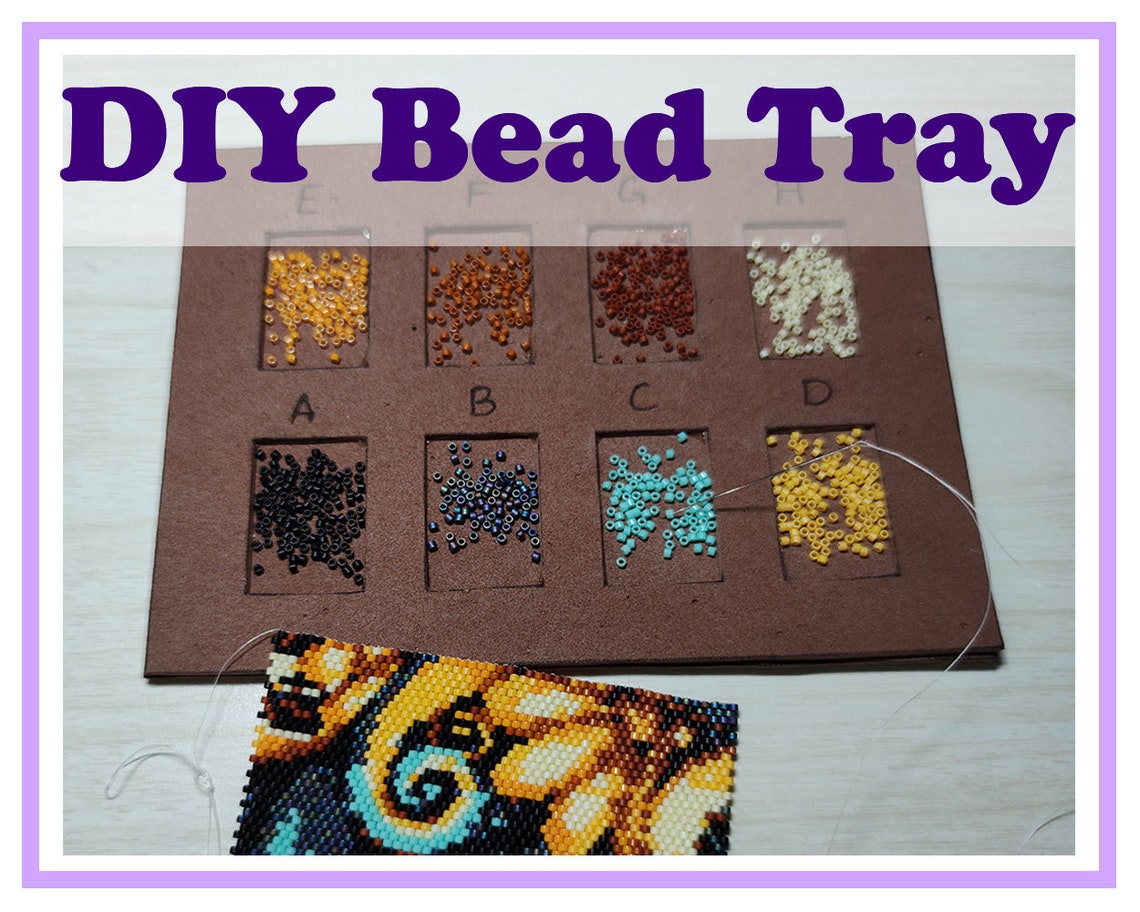
This is another option for making your own board however large or small you want. CLICK the image for the link to the tutorial on Etsy.

DIY Bead Tray  Tutorial for Bead Container  Instruction for image 1

And here are the two bookmarks I made…. A hedgehog and some marigolds. Each is 40 columns X 225 rows for a total of 9,000 beads each…


Beading Pens - 2022

I did a lot of beading to start the year off. I’ve almost always incorporated some type of beads in my doll projects. I’ve never until now, exclusively, beaded projects. I refreshed my beads at the beginning of the year and replaced much of what I had, with mostly Miyuki brand beads as they are so uniform in cut, colour and quality.

I started with beaded pens thinking that was a great way to learn peyote stitch beading. Here are the pieces I created for pen wraps. There are lots of patterns on Etsy for pen wraps. Enjoy searching them…