I’ve been waiting and waiting and waiting for the clouds to lift. This commission doll I’ve been working on has to be special. It’s going to be a a presentation doll and will be given in the fall. I posted a while ago the little caricature doll that I’m working on, and had it sitting and standing with a chair.
Somehow it just wasn’t coming together, didn’t feel right, not convinced that I wanted to use that kind of prop for this doll. I was building a sofa for it last week and half way through, I said NO, this isn’t it. What to do what to do….
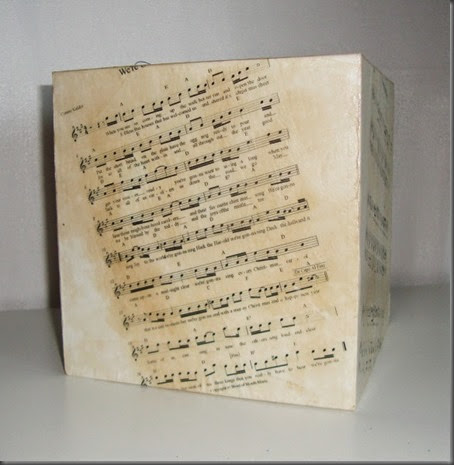
I went to my cupboard to look through my stash of wood pieces. In a past life I did a lot of decorative painting. Aha, I pulled out a wooden cube that measures approx. 7” square. It doesn’t open anywhere, it’s just a cube.I got this idea to decoupage sheet music on it as the person receiving this doll is a musician. I went out in search of sheet music and in the middle of asking at a shop if they carry paper with music on it, I heard that amazing sound I wait for each and every time I make a doll. That all too familiar CLICK. Whether it’s light bulb coming on, or my muse giving my brain a smack, I heard it.
Of course!!!!!!!!!! I have copies of this persons sheet music that is available on line, I’ll print that out and use it….So I came home and after thinking about what to use and getting a suggestion from a friend I went with my original thought to tea dye the paper. I didn’t make it really dark, but I like that it turned out looking well used. I used the first pages of 5 of her songs. I have Mod Podged it to 4 sides and the top. The bottom will be covered with felt.
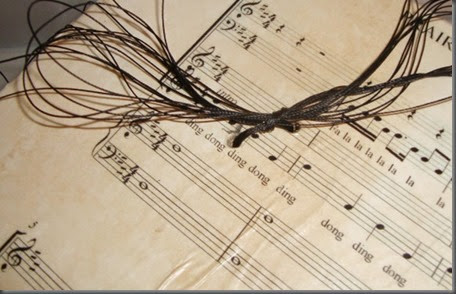
The only other issue, how to attach the doll to the top because the cube doesn’t open.. That was actually the easy part. I positioned the doll on the box, made two pencil marks and proceeded to punch holes in the top. With help from my DH, I got the threads fed through the holes. Now I can push those threads through the dolls hip area from each side, and secure it to the box. I’ll add some glue for the extra hold and a drop here and there under the legs/feet and it should be good to go. I have more done on the doll, but I’ll show where I’m at with it, in another post.
A TIP: If my problem solving idea gives you food for thought, just a quick tip. Remember to tie off the threads while you continue to work on the doll. I didn’t want them coming out or sliding into the box, so they are tied in a bow for now.


That was an excellent idea and will really personalize the doll for the recipient. Bravo!
ReplyDeleteRomona, it turned out GREAT! What a brilliant idea to use her music, she is going to blown away by your wonderful creation!
ReplyDelete